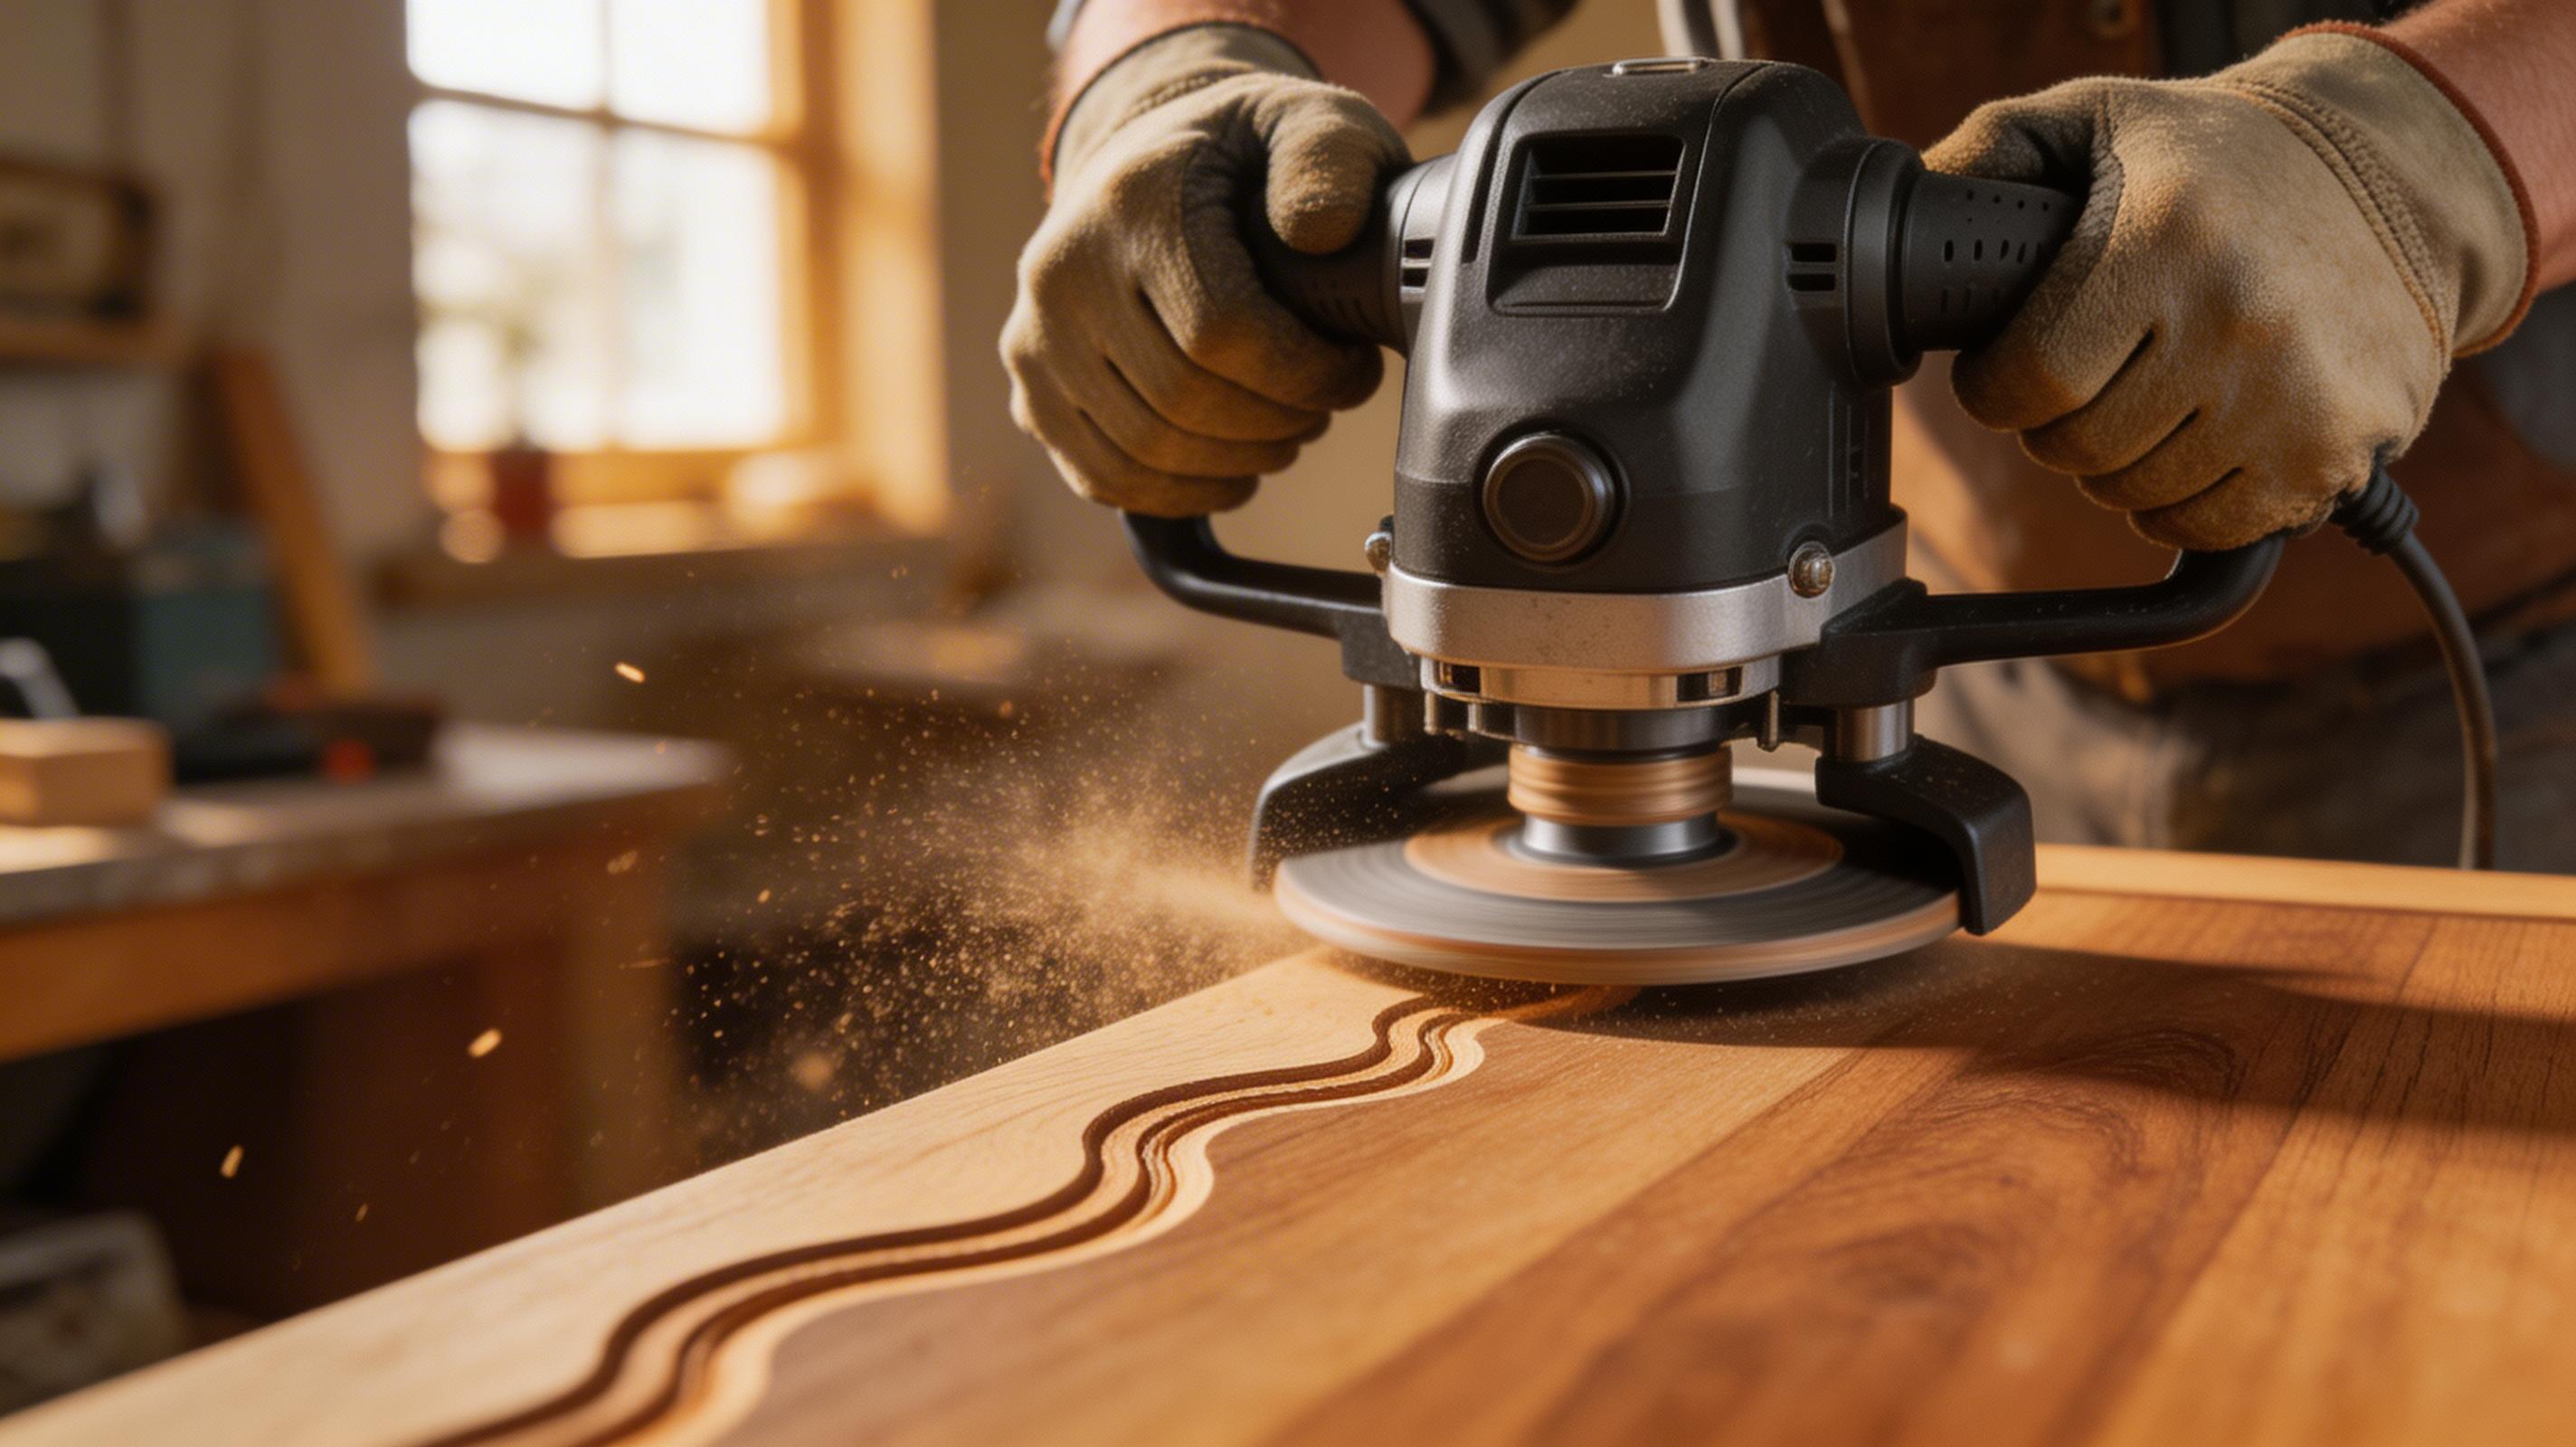
Why the Router is the Most Versatile Tool in the Workshop
The wood router looks intimidating to beginners. It's loud, it spins at 20,000+ RPM, and it throws chips everywhere. But mastered, it's the single tool that unlocks the most new capabilities — decorative profiles on edges, precise grooves and dados, template routing, sign carving, joint cutting. A good router with a solid set of bits essentially replaces half a dozen other tools.
This guide covers what you need to start, how to use a router safely and confidently, and the techniques that will immediately improve your work.
Choosing Your First Router
For most woodworkers, a fixed-base router in the 1,000–1,800 watt range is the right starting point. Key decisions:
- Fixed base vs plunge base — fixed base routers are simpler and better for edge work and table use. Plunge bases allow the bit to be lowered into the work mid-cut, essential for mortises and interior cuts. Combination kits with both bases are excellent value.
- Collet size (1/4" vs 1/2") — larger collets (1/2" / 12mm) grip bits more securely and handle heavier cuts. A router that accepts both sizes via collet adapters is ideal.
- Variable speed — essential for larger diameter bits which should run at lower speeds. Look for 8,000–24,000 RPM variable control.
⚠ Always read the router's safe maximum speed for each bit size. Large diameter bits (over 50mm) must be run at low speeds. Running large bits at full speed is genuinely dangerous.
Ready to put this into practice?
Browse 16,000 step-by-step woodworking plans — every project comes with a full cut list, materials list and diagrams. No guesswork.
Browse Project Plans → Affiliate link — small commission if you purchase, no extra cost to youEssential Router Bits for Beginners
| Bit Type | What It Does | Use For |
|---|---|---|
| Straight bit | Cuts a flat-bottomed groove or channel | Dados, grooves, rebates, flattening slabs |
| Roundover bit | Rounds the edge of a board to a specific radius | Table edges, shelf edges, any exposed edge |
| Chamfer bit | Creates a 45° angled edge | Modern, clean look on furniture edges |
| Rebate/Rabbet bit | Cuts a stepped ledge along an edge | Cabinet backs, door panels, glass rebates |
| Cove bit | Cuts a concave curved profile | Decorative mouldings, furniture details |
| Flush trim bit | Trims one piece flush to another using a bearing | Template routing, trimming laminates, edge banding |
| Slot cutter | Cuts horizontal slots in an edge | Biscuit slots, table top fastener slots, T-slots |
The Rules That Keep You Safe
- Feed direction always matters
Router bits cut in a fixed rotation. Feed the router against the rotation (climb cutting in reverse can cause the router to grab and run). For handheld work: move left to right on the far edge, right to left on the near edge.
- Multiple light passes, not one deep cut
Set the depth to remove no more than 3–6mm per pass on softwood, less on hardwood. Multiple passes produce cleaner results and put less strain on the motor and bit.
- Always clamp the workpiece
The workpiece must be completely secure before the router touches it. A piece that moves during routing can cause the router to grab and kick.
- Let the router reach full speed before cutting
Allow the motor to reach full speed before bringing the bit into contact with the timber.
- Eye and ear protection, always
Routers are among the loudest tools in the workshop. Hearing protection is not optional. Safety glasses for chips.
Using a Router Table
Mounting your router upside-down in a router table transforms it — the bit comes up through the table surface, you feed the workpiece across the table and past the bit. This is safer (two hands on the workpiece), more accurate (the fence provides a consistent reference), and allows for operations that are impossible handheld. A router table is one of the most valuable additions to any workshop. You can buy one or build one — many excellent router table plans are available.
💡 When routing end grain (the cut end of a board), always rout the end grain first, then the long grain. End grain blows out at the exit corner. If you rout long grain last, those corners will be cut clean by the subsequent long-grain pass.
Need something to build?
16,000 step-by-step woodworking plans — furniture, garden builds, sheds, storage and more. Every plan includes a cut list, materials list and full diagrams.
Browse All Project Plans → Affiliate link — we may earn a small commission if you purchase, at no extra cost to you