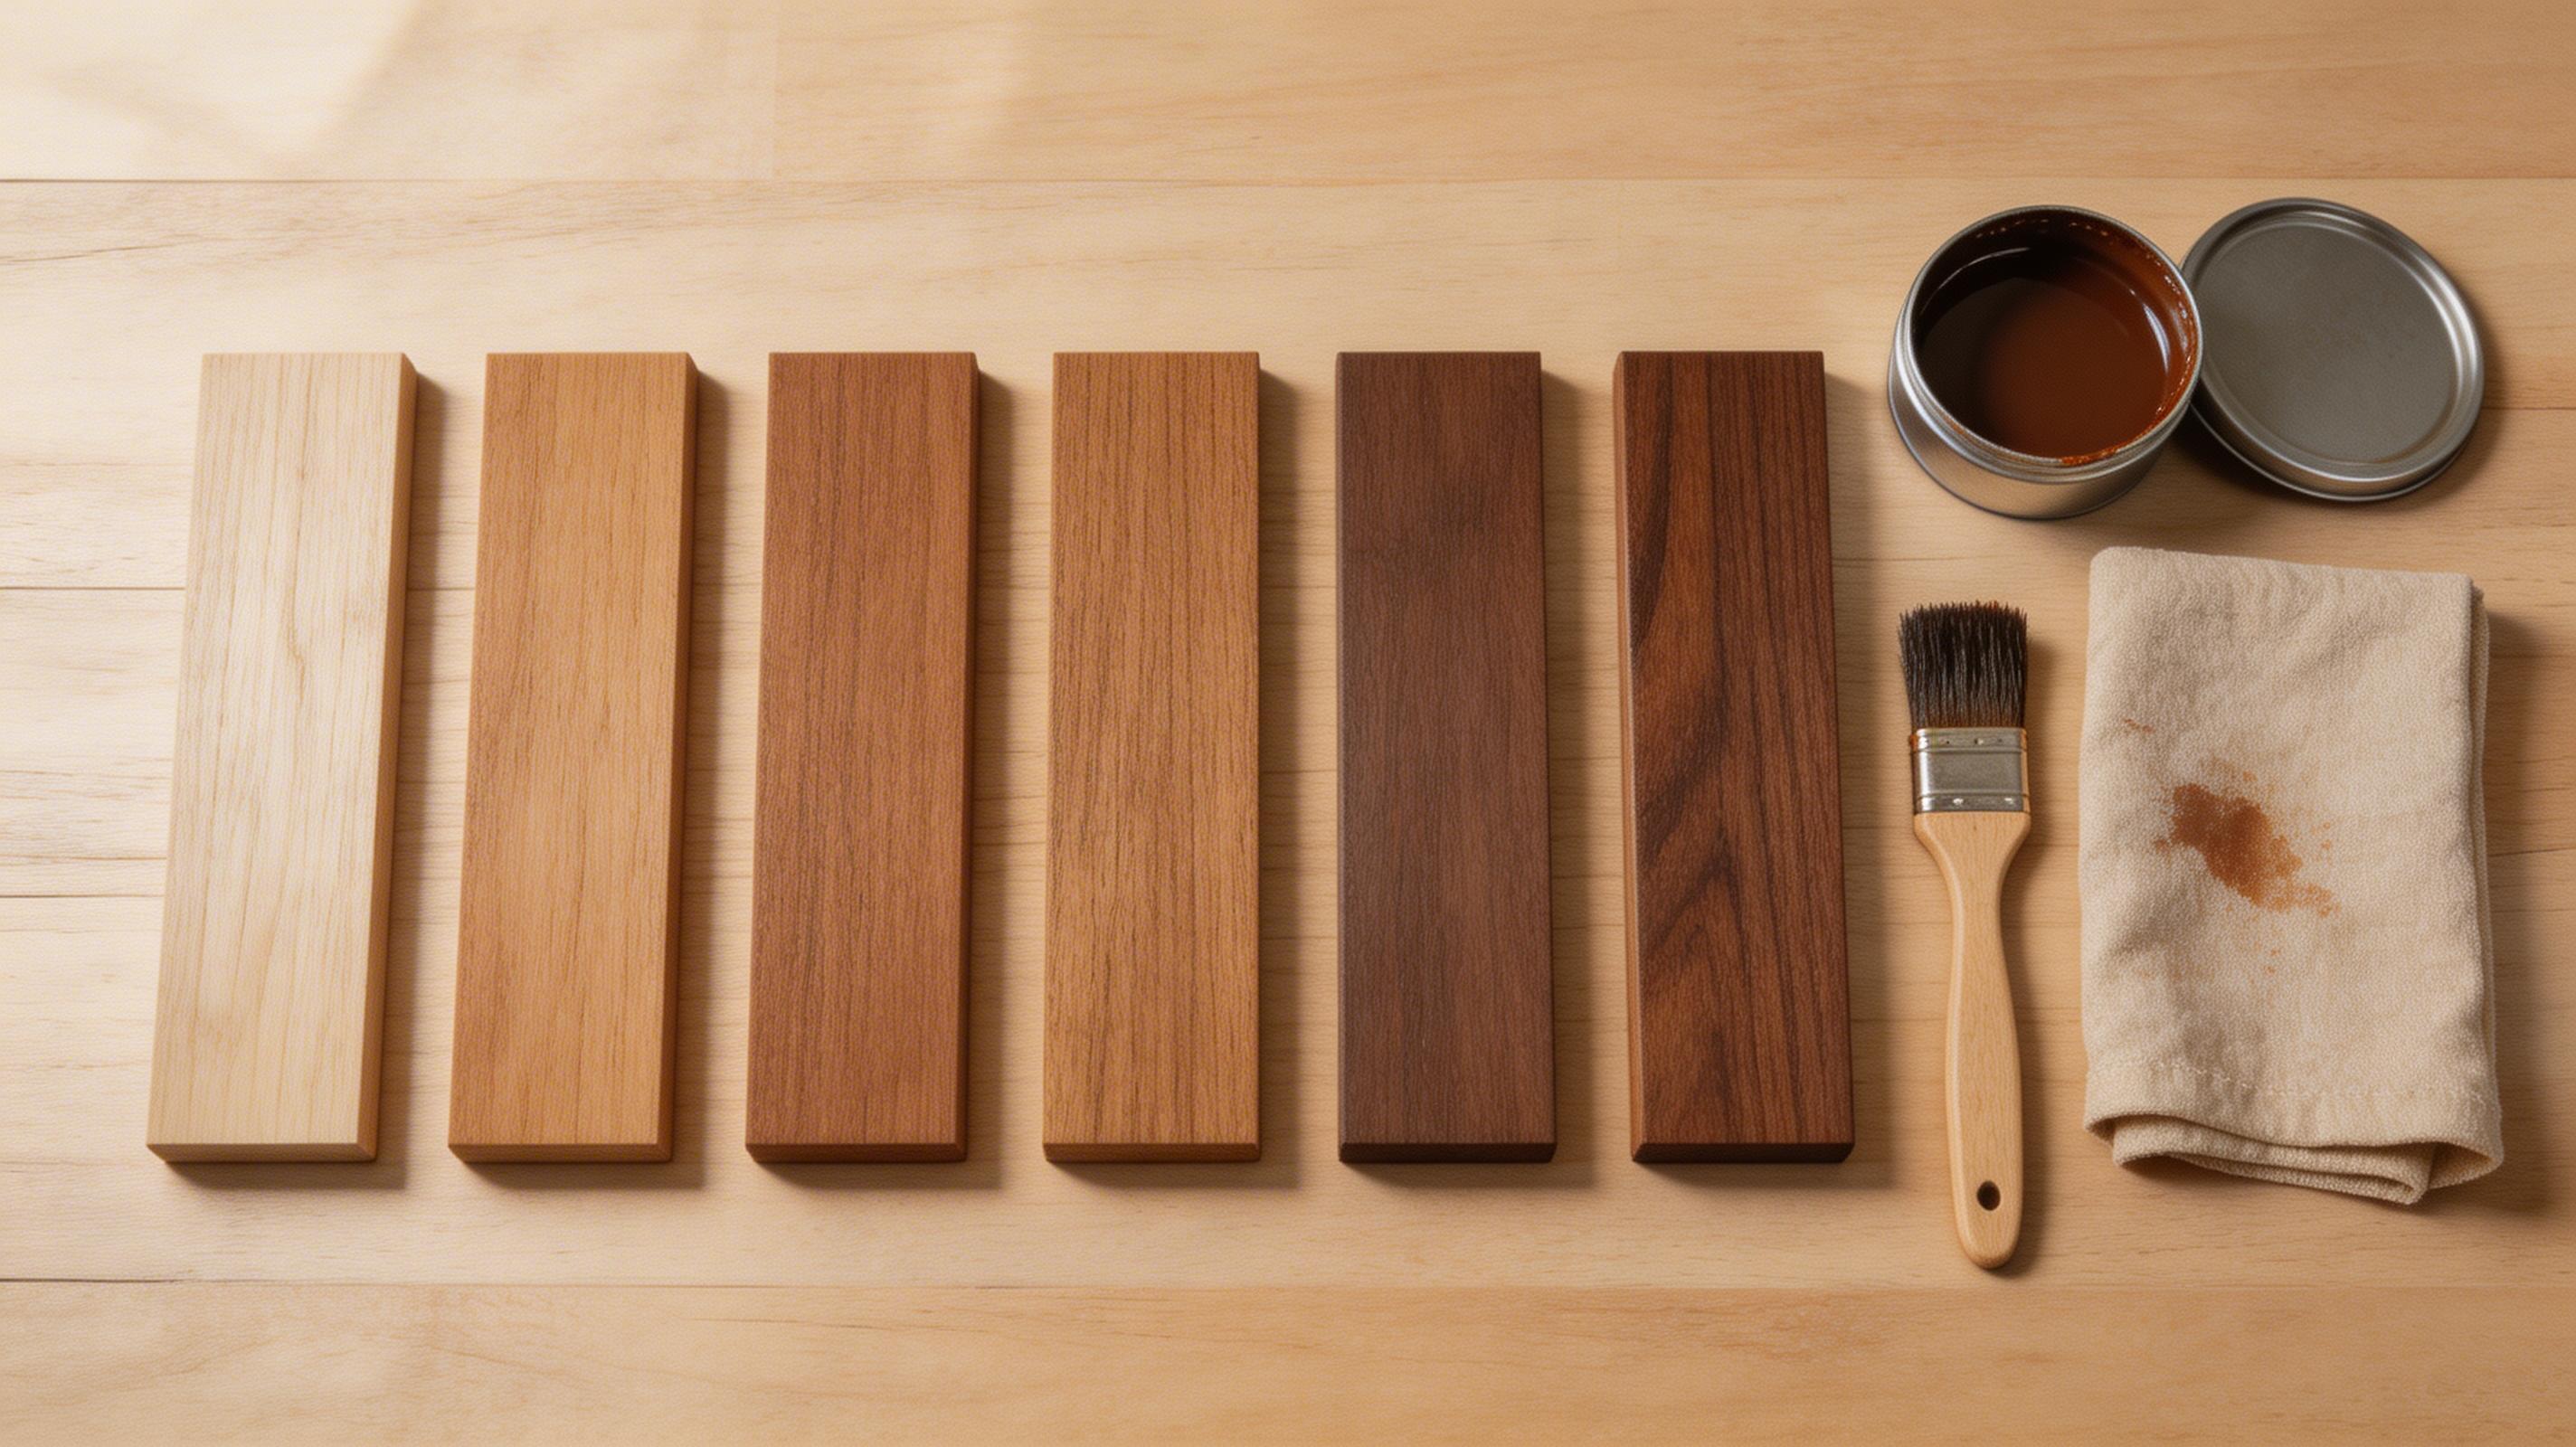
Why Staining Goes Wrong
More finishing jobs go wrong at the staining stage than anywhere else. Blotchy, uneven absorption. Colour that looks nothing like the tin. Grain that's been muddied rather than enhanced. The frustrating thing is that all of these problems are entirely avoidable with the right preparation and product choice.
Staining is not difficult — but it requires understanding why different timbers behave so differently, and matching your approach to the species you're working with.
Why Timbers Stain Differently
Wood is not a uniform material. It has early wood (fast-grown, less dense, more porous) and late wood (slow-grown, denser, less porous) in alternating bands. It has ray cells running perpendicular to the grain. Around knots, the grain swirls unpredictably. All of these areas absorb stain at different rates — which is why an unstained board looks relatively even, but a stained one can look like a patchwork quilt.
💡 The single most useful thing you can do before staining any timber: apply a wood conditioner (pre-stain conditioner) or a wash coat of diluted shellac. This partially seals the surface and evens out absorption across early and late wood. The difference in blotching is dramatic.
Ready to put this into practice?
Browse 16,000 step-by-step woodworking plans — every project comes with a full cut list, materials list and diagrams. No guesswork.
Browse Project Plans → Affiliate link — small commission if you purchase, no extra cost to youTimber-by-Timber Staining Guide
| Timber | Staining Behaviour | Preparation Needed | Best Approach |
|---|---|---|---|
| Pine | Very blotchy — early/late wood absorbs very differently | Wood conditioner essential | Conditioner, then gel stain |
| Oak | Moderate blotch risk, tannins can react with water-based stains | Conditioner recommended, use oil-based stain | Conditioner + oil stain, or just oil |
| Maple | Severe blotching risk — very tight, uneven grain | Shellac wash coat essential | Shellac sealer, then stain or just use clear finish |
| Cherry | Moderate — blotches but less severe. Colour changes with light anyway | Conditioner helpful | Consider no stain — let it age naturally |
| Walnut | Excellent — accepts stain evenly. Usually doesn't need staining at all | None required | Clear oil to enhance natural colour |
| Ash | Open grain absorbs well but can show pronounced grain lines under stain | Light conditioner | Oil stain with the grain direction |
Types of Stain — Which to Use
- Oil-based stain — longer working time (stays wet longer), penetrates deeply, rich colour. Slower to dry (4–8 hours). Better for blotch-prone timbers. Clean up with mineral spirits.
- Water-based stain — fast drying, lower odour, easy water cleanup. Raises the grain — always sand lightly between coats. Can look less rich than oil-based on open-grain timbers.
- Gel stain — a thick, paste-like stain that sits on the surface rather than penetrating. Dramatically reduces blotching risk. Excellent for pine and maple. Slightly less natural-looking result.
- Dye stain — very fine particles that penetrate extremely evenly. Used by professional finishers. More vibrant colours but less UV stable.
Application — Getting It Right
- Sand to 180 grit
No coarser — stain will highlight 80 or 120 grit scratches. No finer — over-sanded surfaces become burnished and resist stain penetration.
- Apply conditioner if needed
Brush on, allow 5–15 minutes to penetrate, wipe off excess. Apply stain within 2 hours (before conditioner fully cures).
- Apply stain with a cloth or brush
Work with the grain. Apply liberally, allow to penetrate 2–5 minutes. Don't let it puddle.
- Wipe off excess
Always wipe off with the grain. Leaving excess stain creates a sticky, uneven surface.
- Allow to fully dry
Oil-based: 8–24 hours. Water-based: 2–4 hours. Don't rush this — a topcoat over wet stain will lift and bubble.
- Apply topcoat
Stain alone provides no protection. Always apply a clear finish over stain — oil, hardwax oil, lacquer or polyurethane.
⚠ Test your stain on an offcut from the same board, not a different piece of the same species. Stain results vary even within the same species depending on how the board was cut and its moisture content.
Need something to build?
16,000 step-by-step woodworking plans — furniture, garden builds, sheds, storage and more. Every plan includes a cut list, materials list and full diagrams.
Browse All Project Plans → Affiliate link — we may earn a small commission if you purchase, at no extra cost to you